How to Avoid Scratching Vinyl Graphics During Installation
When it comes to vinyl installation, especially for signage, vehicle wraps, or window graphics, surface perfection is non-negotiable. A single scratch can compromise the professional finish of the job and even require a costly re-do. At Lidco Products, we know the importance of high standards in the sign and graphics industry. For decades, we have supplied products to the professionals who set these standards.
We’ll cover essential preparation tips, tool recommendations, and best practices—so you can achieve flawless results every time. This post is your go-to guide for preventing scratches during vinyl graphic installation.
Why Scratches Happen: Understanding the Risk
Scratching during installation usually occurs for three main reasons:
Improper Tool Selection – Using squeegees or application tools not designed for sensitive vinyl surfaces.
Lack of Surface Preparation – Dust, debris, or grit between the vinyl and substrate can grind into the film during application.
Too Much or Uneven Pressure – Applying inconsistent or excessive force with your tool can stress the vinyl and cause micro-tears or drag lines.
Avoiding these risks requires not only careful technique but also the right tools for the job. That’s where Lidco’s product line comes in.
Step 1: Start With a Clean Surface
Before your vinyl even comes off the backing paper, surface prep is key. Dust, oils, or tiny grit particles are your worst enemies. They can lodge under the vinyl or stick to your tools and leave visible scratches or bumps.
Best Practices:
Use a lint-free cloth and appropriate cleaning solution for the substrate (glass, metal, plastic, etc…).
Avoid ammonia-based cleaners on vehicle or painted surfaces—they can interfere with vinyl adhesion.
Wipe in one direction to avoid redepositing dirt.
Pro Tip: Use microfiber cloths or edge-sealed cleaning pads to reduce lint and contamination before installation begins.
Step 2: Choose the Right Application Tool
This is the most important factor in scratch prevention. The type of squeegee or application tool you use makes all the difference. Not all squeegees are created equal and using the wrong one can cause immediate surface damage.
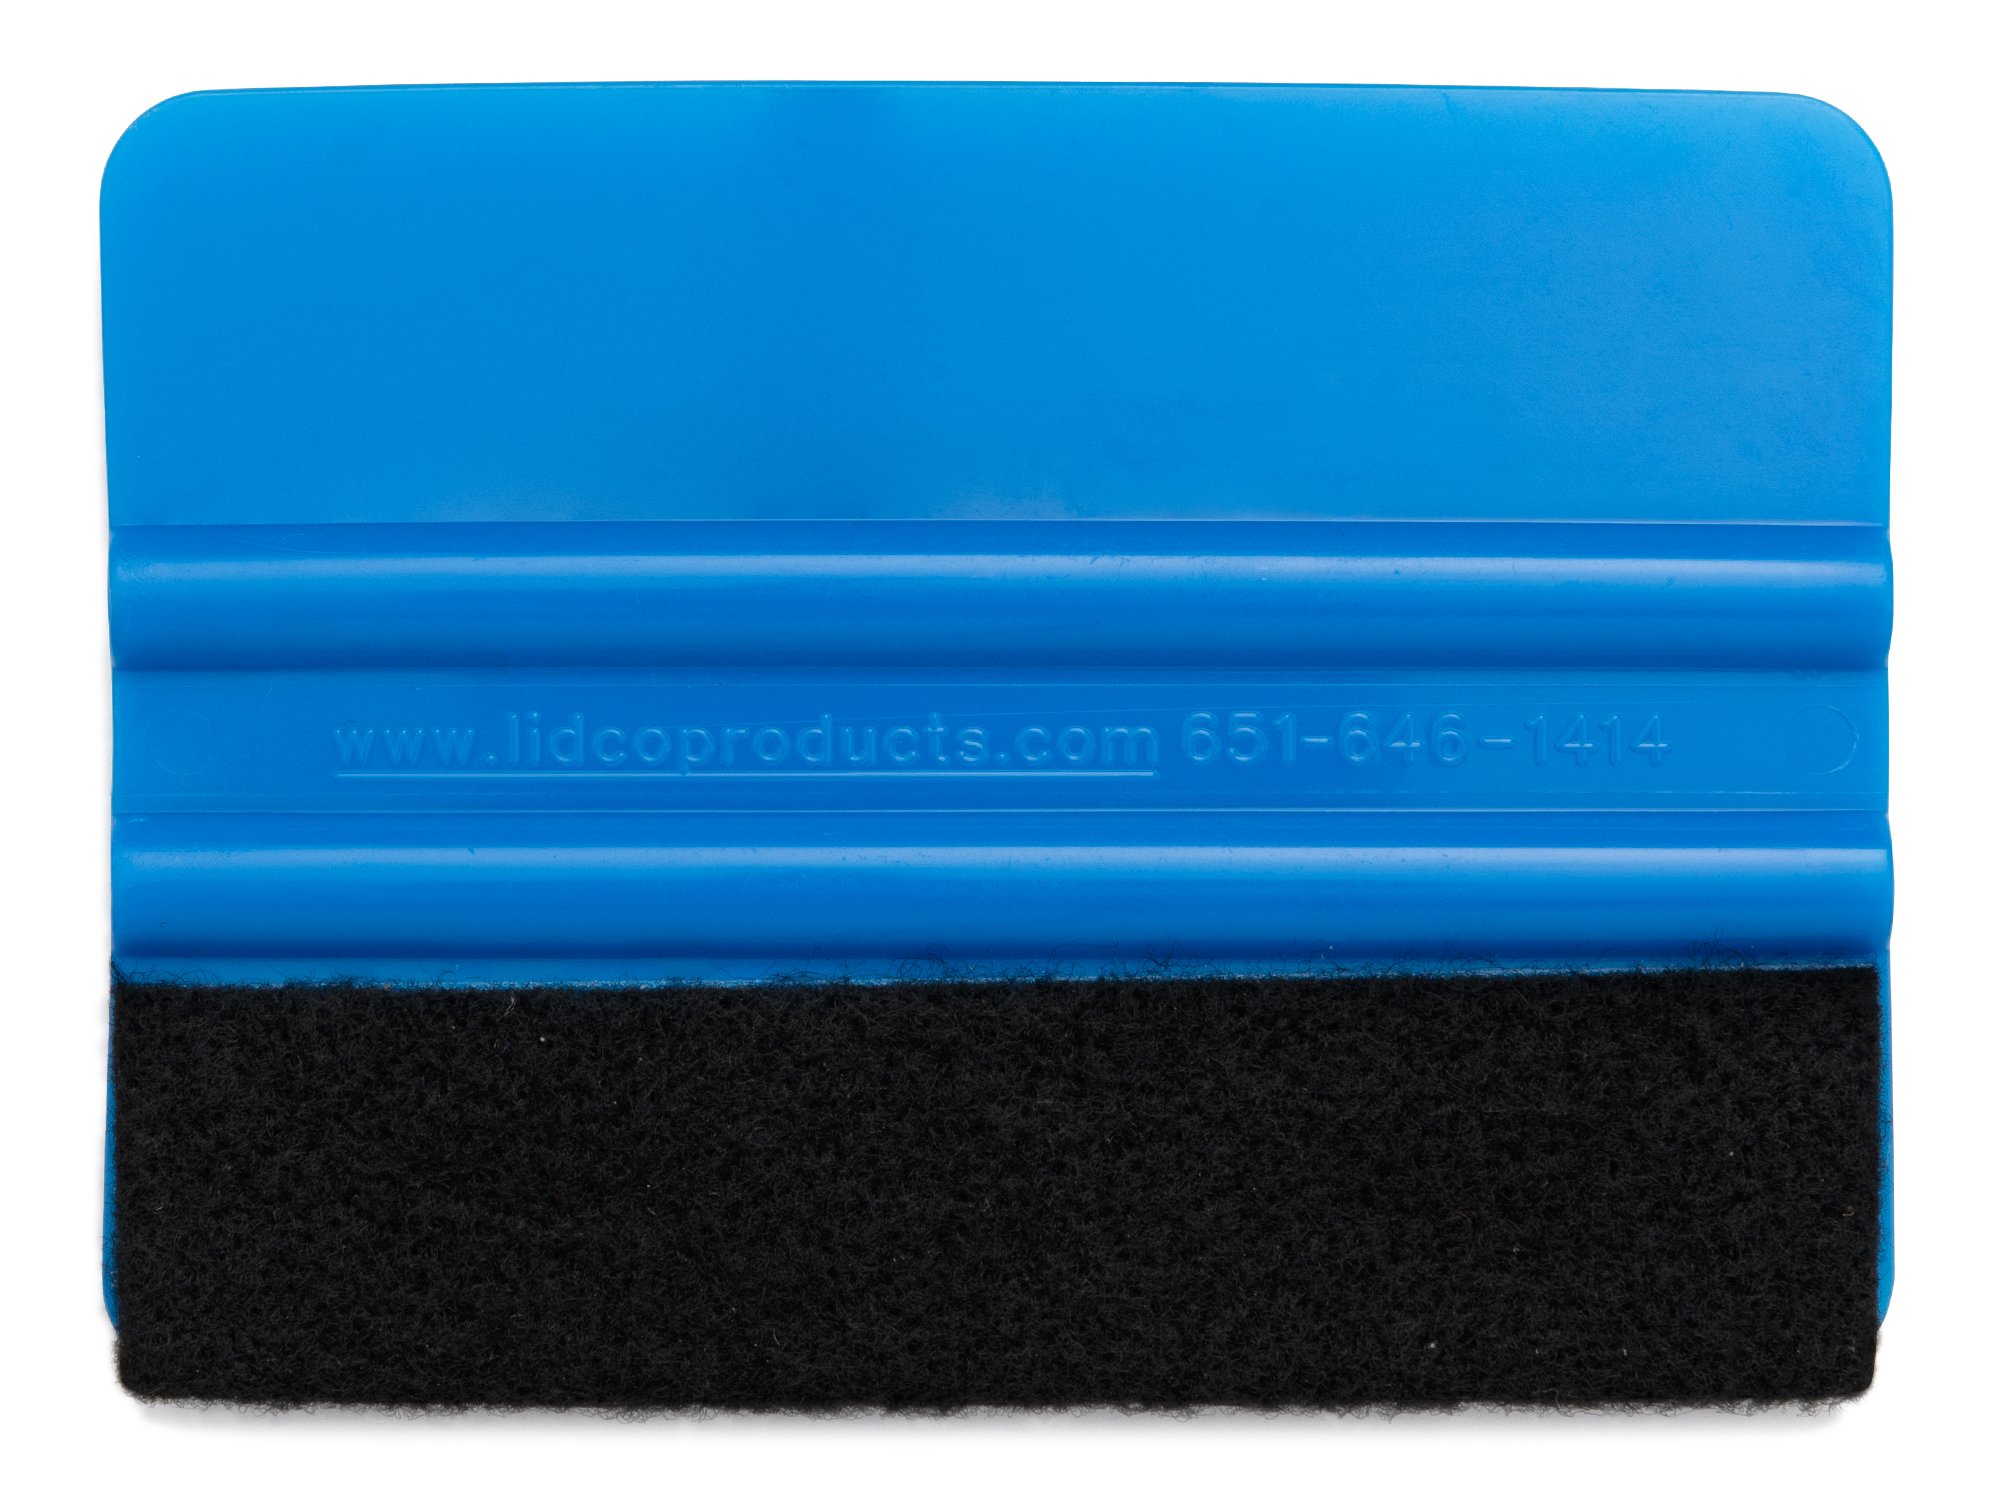
Squeegees with Buffers
For delicate surfaces or printed vinyl, always use squeegees with felt, suede, or microfiber buffers. These materials create a soft barrier between the squeegee edge and the vinyl surface.
Recommended Lidco Products:
Lidco RC Nylon with Lidco Low-Friction Felt Sleeve: Lidco Low-Friction Felt Sleeves are made for installations that are sensitive to scratches. They add a soft edge buffer to 4-inch, 6-inch, and 12-inch squeegees. Lidco’s Rounded Corner Nylon Series has moderate stiffness and a molded edge. It is perfect for vehicle wraps, digital prints, and specialty films.
Lidco RC Poly with Felt Edge: Flexible and adaptable to curves, perfect for partial wraps or window graphics with contours. If you need a squeegee that comes with a protective edge already attached, choose Lidco’s Standard-Weight or Heavy-Weight Felt-edge Wrapped options.

Lidco Low-Friction Felt Sleeves are a great addition on 4-, 6-, and 12-inch squeegees.
Felt edge is available preinstalled in heavy and light weights.
Step 3: Replace Worn Tools
It’s easy to overlook this step, but a worn squeegee can be a liability. Over time, even the best tools can develop burrs, hard edges, or embedded particles. These micro-imperfections can create scratch paths on your vinyl during installation.
Signs Your Tool Needs Replacing:
Felt edge is dirty or compacted
Plastic edge is nicked or has sharp corners
The tool has lost its flexibility or shape
Tip: Keep a rotation of clean, fresh tools on hand.
Step 4: Use Controlled, Even Pressure
Using too much pressure with your squeegee won’t make the film stick better. Instead, it can damage the film.
Instead, focus on even, overlapping strokes. Let the tool do the work and allow the pressure to distribute evenly across the surface. Don’t press too hard, especially on curves or corners.
Try This Technique:
Use 45-degree angled strokes to minimize edge friction.
Squeegee in smooth, overlapping passes from the center out.
If working wet, make sure excess fluid is evacuated gently without dragging your edge too firmly.
Step 5: Keep Your Workspace Clean
Dust, debris, and other contaminants don’t just damage vinyl—they get into your tools. If you’re working on a vehicle or glass install outdoors, set up a clean buffer zone using drop cloths or portable tents.
Maintenance Tips:
Wipe down your squeegees after each install.
Store squeegees and accessories in sealed containers or tool bags.
Avoid placing squeegees on dirty or abrasive surfaces between uses.
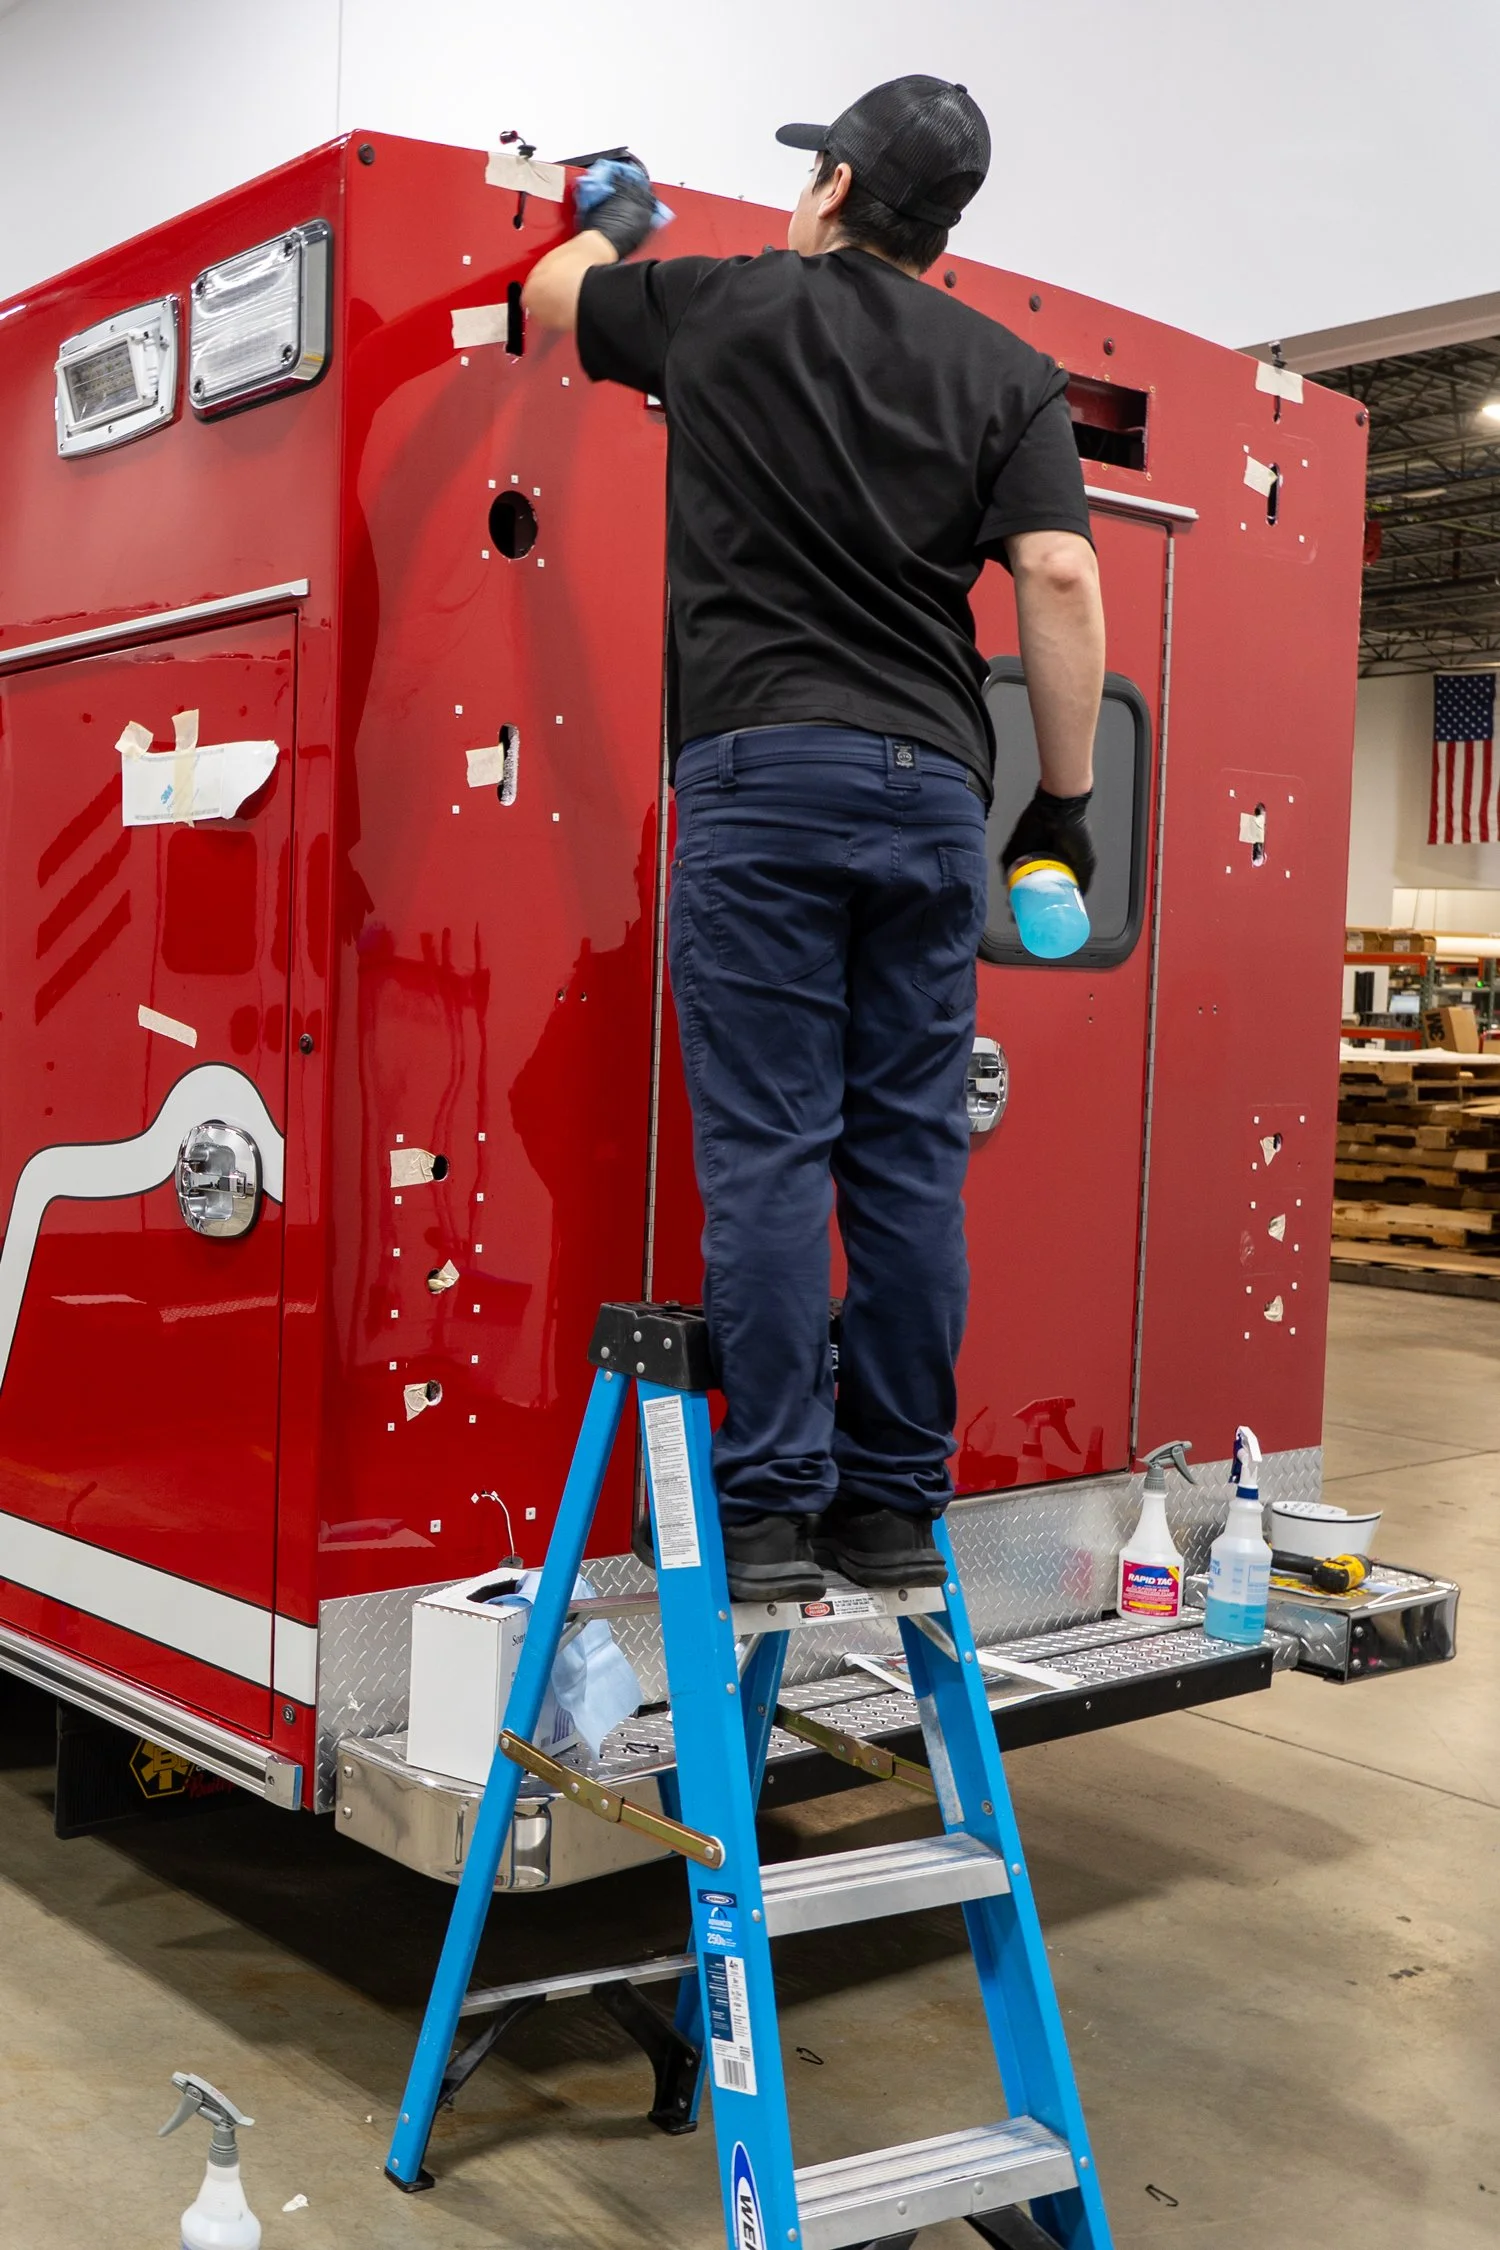
Squeegee technique can make a difference in a smooth graphic installation
Step 6: Match the Tool to the Film Type

Dual-rib design plus heavy-weight felt make an ideal graphic application tool.
Different films require different handling. Metallic vinyl, matte finishes, and printed wraps are all more prone to surface damage than standard gloss films.
For Matte & Metallic Finishes:
Use RC Poly Felt-Edge Wrapped Squeegees. These finishes tend to show micro-scratches more easily, so minimizing tool drag is crucial.
For Printed Graphics:
Use squeegees with moderate stiffness and slippery materials like Lidco’s Rounded Corner Nylon Series
Pro Tip: Add a Lidco Low-Friction Felt Sleeve to a Lidco Rounded Corner Series Squeegee in Poly or in Nylon.
Trusted by Professionals Nationwide
Lidco Products has been supplying the sign and graphics industry with high-performance application tools for over 30 years. We design our tools with help from professional installers to meet the needs of modern vinyl materials and techniques.
If you're new to wrap installation or have experience, using the right tools and developing good habits can help you avoid common mistakes, like scratching during application.
That’s a wrap!
Scratching vinyl graphics is a preventable issue that comes down to preparation, technique, and tool choice. By following the steps in this guide and using reliable Lidco tools, you can complete installations that protect your work and your reputation.
Explore Our Scratch-Free Application Tools
Looking for a wide variety of vinyl and film graphic application, spreaders, removal tools or high-performance accessories? Browse our full selection of vinyl application tools and find the perfect match for your next project.
Questions or want to recommend a tool to be featured?
Contact us at orders@lidcoproducts.com or call 651-646-1414 to speak with our team. If you know what you’re looking for already, fill out our request for quote form and submit it today!